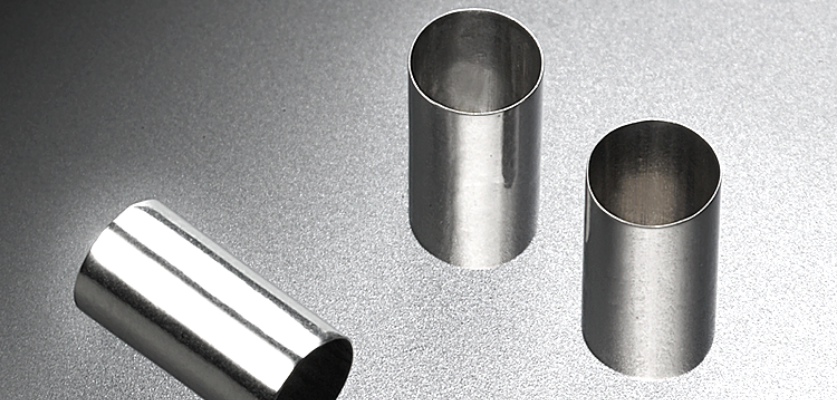
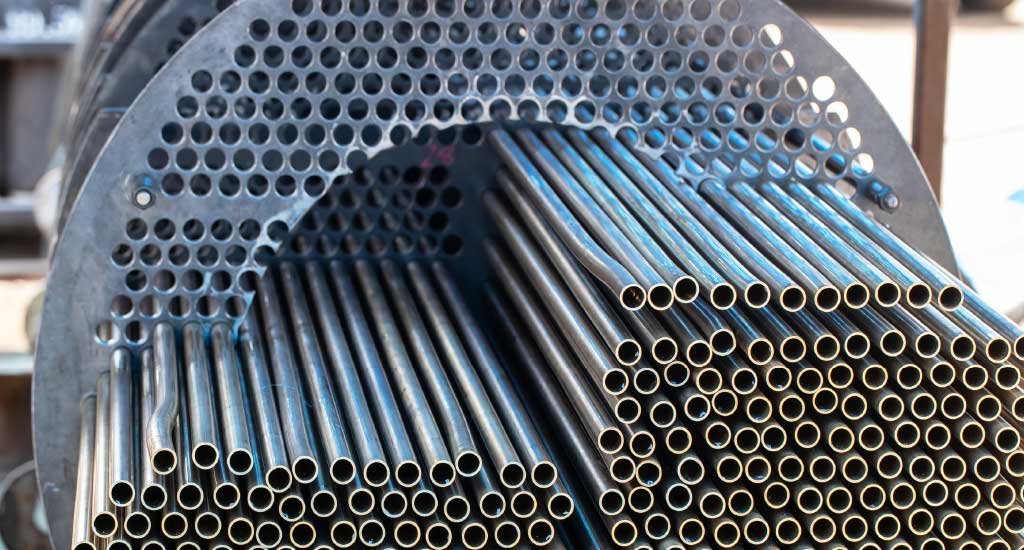
In the manufacturing and inspection of metal pipes—whether stainless steel, carbon steel, or alloy—the wall thickness is a key dimensional parameter. Precise wall thickness affects mechanical strength, pressure resistance, and long-term reliability, especially in critical applications such as heat exchangers, boilers, and petrochemical piping systems.
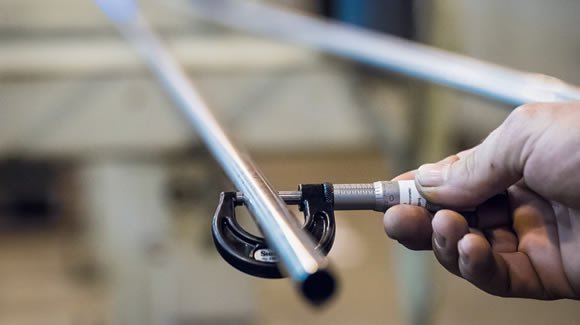
One of the most accurate methods for determining wall thickness at the pipe ends is using an external micrometer. In this article, we explain how to use a micrometer correctly, best practices, and why this method remains a trusted standard in quality control.
Why Wall Thickness Measurement Matters
Pipe wall thickness directly impacts:
- Pressure-bearing capacity
- Heat transfer efficiency (for heat exchanger tubes)
- Compliance with ASTM, ASME, EN, or JIS standards
- Welding and assembly tolerances
Even slight deviations can cause rejection during quality checks, equipment failure in service, or regulatory non-compliance.
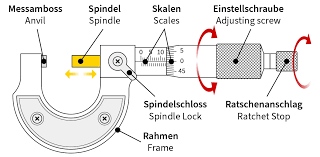
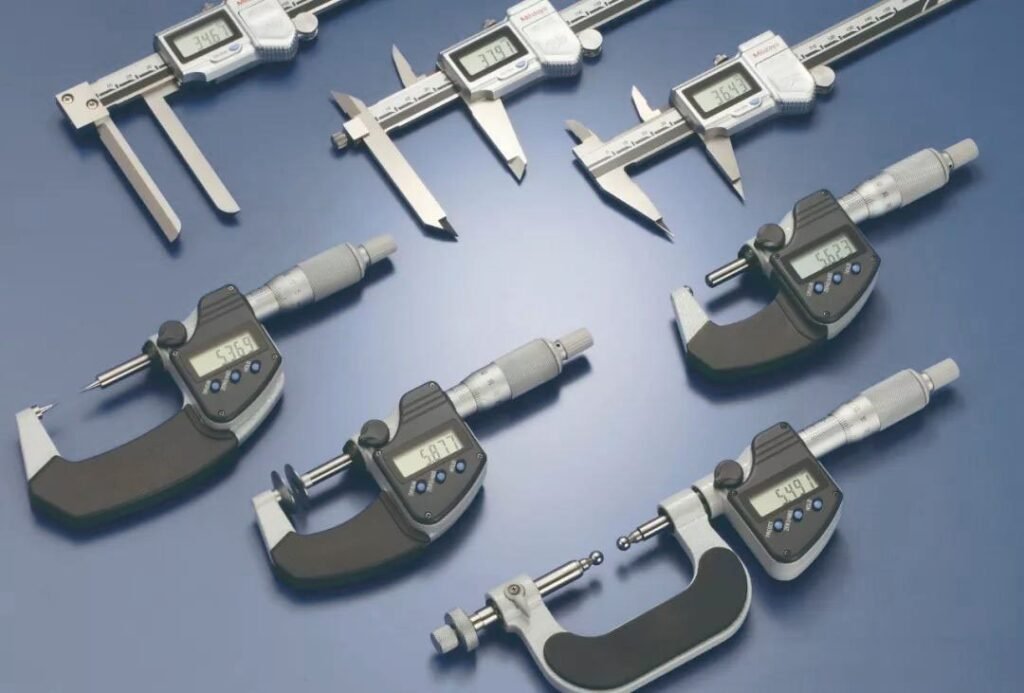
What Is a Micrometer?
A micrometer (also called a micrometer caliper) is a precision measuring tool capable of measuring dimensions with a typical accuracy of 0.01 mm or even 0.001 mm. For wall thickness measurement, an outside micrometer is used.
Step-by-Step: Measuring Pipe Wall Thickness with a Micrometer
1. Select the Right Micrometer
Choose an external micrometer with an appropriate measuring range, such as:
- 0–25 mm for thin-walled tubes
- 25–50 mm for larger-diameter pipes
Ensure the micrometer is calibrated and clean before use.
2. Prepare the Pipe Surface
Before measuring, clean the pipe’s outer and inner surfaces near the end. Remove dust, oil, rust, or burrs. This helps avoid false readings.
3. Choose the Measurement Points
To ensure reliable results:
- Measure at four locations around the pipe circumference (0°, 90°, 180°, 270°)
- Avoid the weld seam or beveled ends
- Take measurements close to the pipe end, but on a flat section
4. Take the Measurement
- Open the micrometer slightly wider than the expected thickness
- Place the anvil and spindle against the outer and inner surfaces
- Turn the ratchet stop until you feel a light click (indicates proper pressure)
- Lock and read the measurement from the scale or digital display
Repeat the process at each point and record the results.
Tips for Accurate Measurement
- Avoid overtightening the micrometer; use the ratchet to ensure consistent pressure.
- For thin-walled pipes, minimize contact pressure to prevent deformation.
- Record values to the nearest 0.01 mm or 0.001 mm, depending on micrometer resolution.
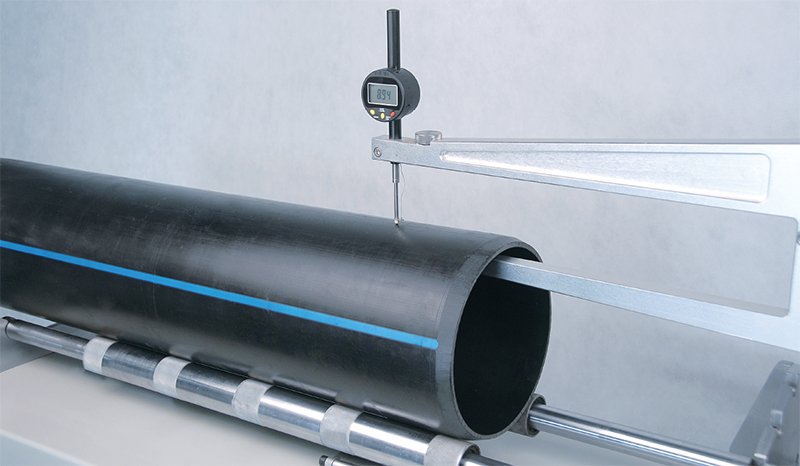
- For full-length inspection (not just ends), consider ultrasonic thickness gauges.
Comparison with Other Methods
| Method | Accuracy | Destructive? | Best For |
|---|---|---|---|
| Micrometer | Very High | No | Pipe ends, spot-checking |
| Ultrasonic Gauge | Moderate–High | No | Full pipe length |
| Caliper | Moderate | No | Quick checks |
When to Use a Micrometer
Micrometer-based wall thickness inspection is particularly useful when:
- Certifying products for export (e.g. to ASME/ASTM standards)
- Verifying precision tubing (e.g. for condensers or instrumentation)
- Sampling incoming or outgoing pipe batches in QC labs
- Ensuring manufacturing compliance during in-process control
Conclusion
Accurate measurement of pipe wall thickness is fundamental for quality assurance, especially in high-performance industries. Micrometers offer a simple yet powerful way to obtain precise thickness readings, making them indispensable tools for inspection professionals.
For large-volume or in-line inspection needs, micrometers are often complemented with ultrasonic devices. However, for sampling at the pipe ends, nothing beats the direct contact accuracy of a well-calibrated micrometer.